Here are two easy to produce effects (although could be processor heavy) and simple animations that anyone can create easily in Flash on the timeline or in the code. These effects can be applied using Flash CS3 and above.
Evaporate Effect
This can be simulated using the Blur filter combined with Alpha tweening. The key is to make the object completely transparent and with 100% blur filter value at the end of the animation.
Example
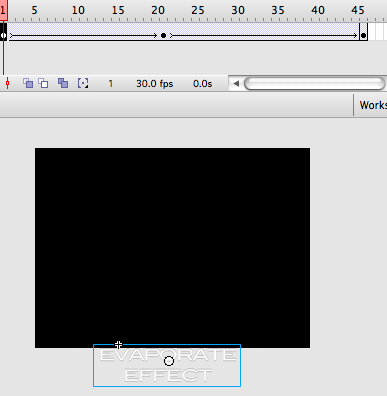
In the Timeline, create an object that you want to apply the effect to. For my examples, the objects are text (note: if you are using text, nest them in a Movie Clip symbol first to make Tweening easier). Add the object into the timeline, then extends the timeline the object stays to around 45 frames. Make keyframes at the end and in the middle, around frame 20. Add Motion Tween between the keyframes.
Then edit the object state in every keyframe as described below.
Frame 1: Move the object outside of the screen to produce an entrance.
Frame 20 (or so): the object is completely in view
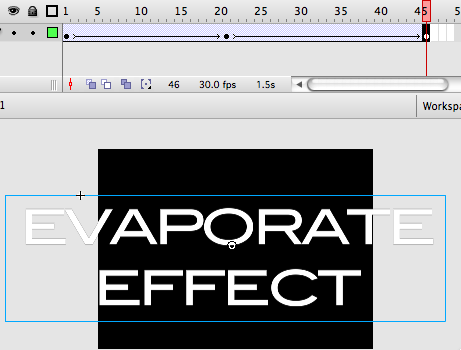
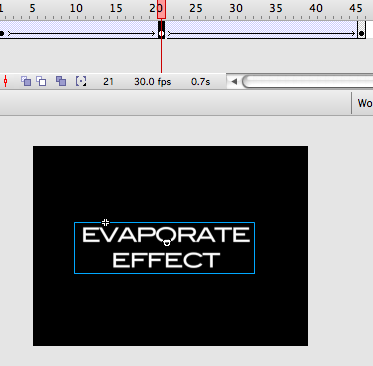 The Last Frame: enlarge the object.
Then apply the blur filter to the object (I am using the maximum value, although you can always play around with the values). PS: The Filter panel is under Window->Properties->Filters, make sure the object is selected when applying the filter.
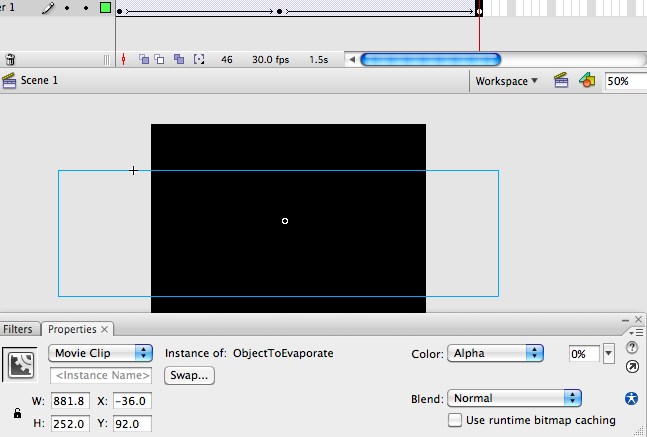
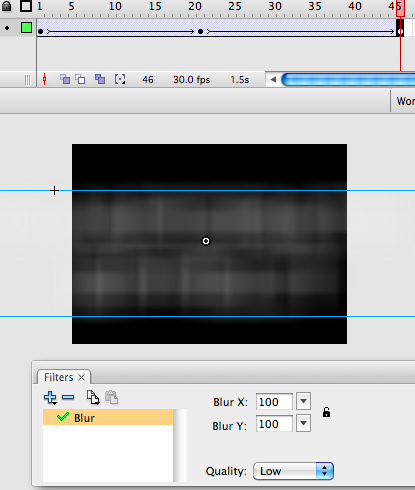 One more step to do, to make the object completely invisible at the end, we should change the Alpha value to 0. The Property panel is under Window->Properties->Properties.
The result is shown below:
Below is a variation where the object does not enlarge but floats then evaporates.
Blur Effect
In the Timeline, create an object that you want to apply the effect to. For my examples, the objects are text (note: if you are using text, nest them in a Movie Clip symbol first to make Tweening easier). Add the object into the timeline, then extends the timeline the object stays to around 30 frames. Make keyframes at frame 8 and 20. Add Motion Tween between the keyframes like below (the pause between keyframe 8 and 20 is to allow the object to pause briefly while in full view).
Then edit the object state in every keyframe as described below.
Frame 1: Move the object outside of the screen to produce an entrance.
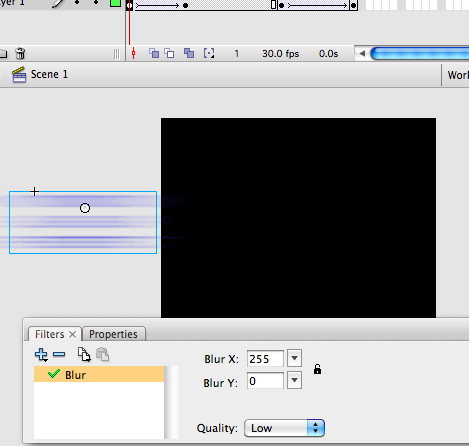
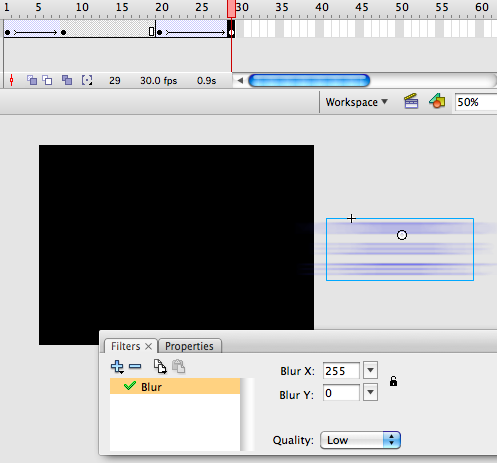
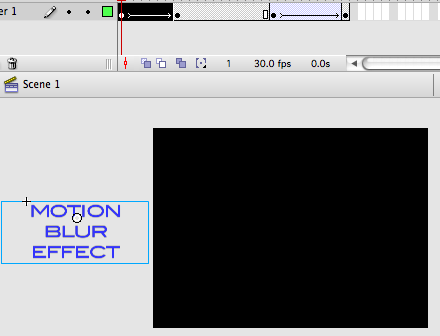 In the same frame, we will be using the Blur Filter again, but this time to simulate quick-movement. Since I am moving horizotally in this example, only the horizontal (X) blue value is used. Set it to the maximum value, which is 255.
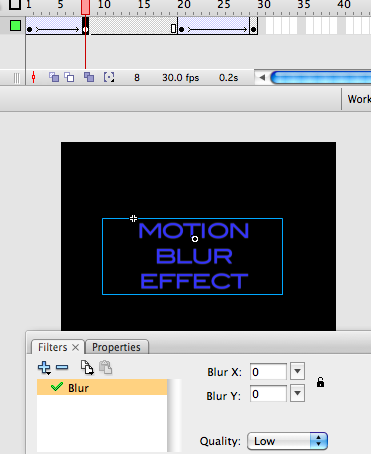
Frame 8: The object is in full-view, the Blue filter should be set to 0 (or even removed completely since they are not needed).
Frame 20: this is the same as the previous keyframe, we are allowing the object to stay in full-view for a while between frame 8 to 20 (the animation pause can be lengthened based on need).
Frame 29: the object is in a similar blurred state as in frame 1 here, except we’re moving the object to the right side of the screen.
Notes:
– These effects look better ith higher frame rate, somewhere between 24 to 30 fps.
– Remember, the objects are not limited to text, it can be any movie clip — although it may not look good on all.
